Hi Everyone!
I thought that I would do something a little different today, and show you a DIY project that I have been wanting to do for quite a while! Like I said in my Homeware Haul post last week I’ve been reorganising and revamping areas of my bedroom and this was something that I was excited to add in to the decor.

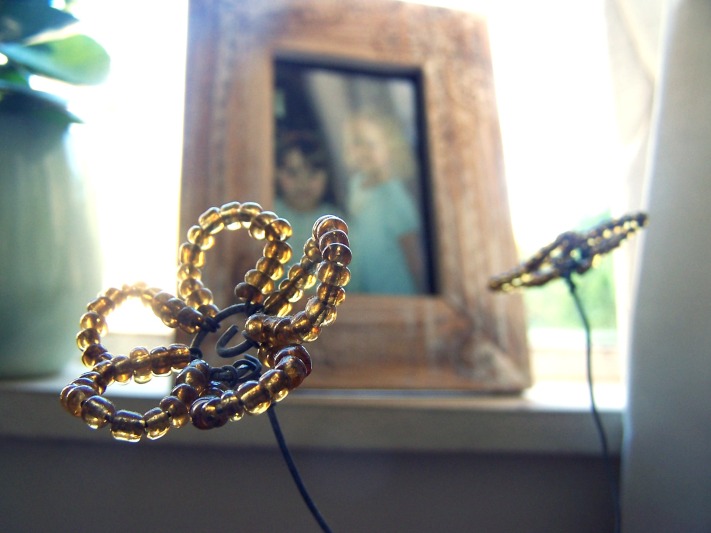
I have a lot of photographs – I’m that girl who takes her camera everywhere – and so I love to display them in my bedroom. I tend to have odd photographs stuck up all over the place, and I decided that I wanted to put a few really nice ones into photo frames to protect them.
I also love mehindi and henna designs, and henna tattoos are quite a trend here in South Africa at the moment. I do want to put out there immediately that I understand the traditions of mehindi and I, in no way mean to disrespect or disregard these traditions. In this DIY I am simply using henna because of the staining properties of the paste and the effect that it brings to the project.
You can also create a similar effect by using pens or paint to create these designs.

You’re going to need plain photo frames that are untreated (mine have been weathered a little bit, but I like the effect that this makes), henna or mehindi cones or pens or paint, and some good music to listen to while you work!
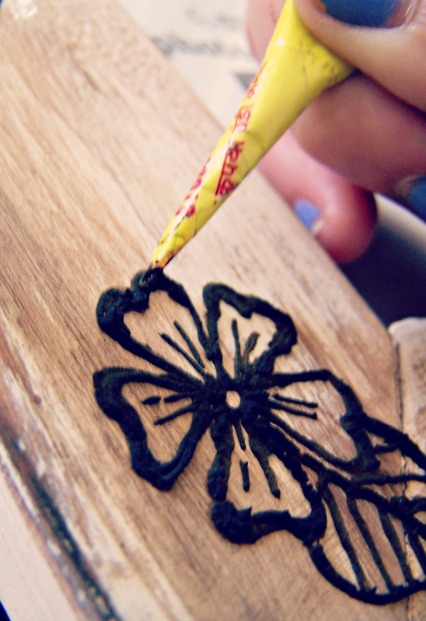
Henna cones should be kept in cool place, and try to keep them stoppered with a pin to stop the henna from reacting with the air. Before you start working on the actual photo frame make sure that your henna cone is workable.
By a general rule of thumb your henna paste should be brown rather than blackish-green – though if this is the case I recommend that you squeeze henna out of the tube until it become brown (it usually means that it has just reacted with the air. I would also recommend testing some lines or patterns on the back of the frames so that you can have some idea of what it might look like, and also to get used to working with the henna – you can also use a tiny paintbrush to apply henna paste.
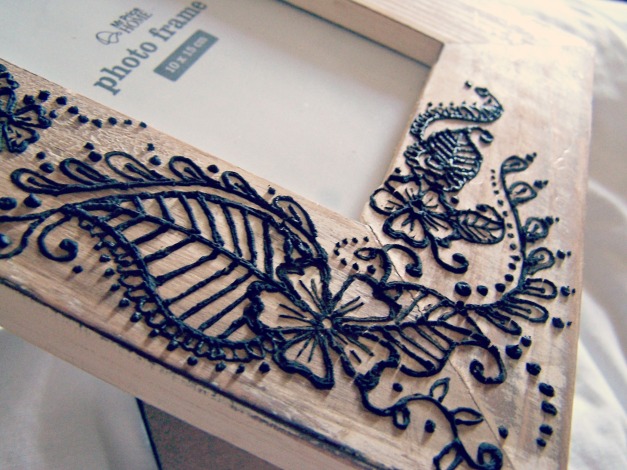
Deciding on the pattern is obviously the fun part. I decided to use a florally pattern, connected with lots of spirals and leaf patterns. I didn’t want to cover the whole frame, so I chose to do one corner of each of my two frames. I looked at Pinterest (I have a tattoo and henna inspiration board) and then decided to improvise most of design. I kept the flowers and leaf-like patterns consistent to connect the two frames together.
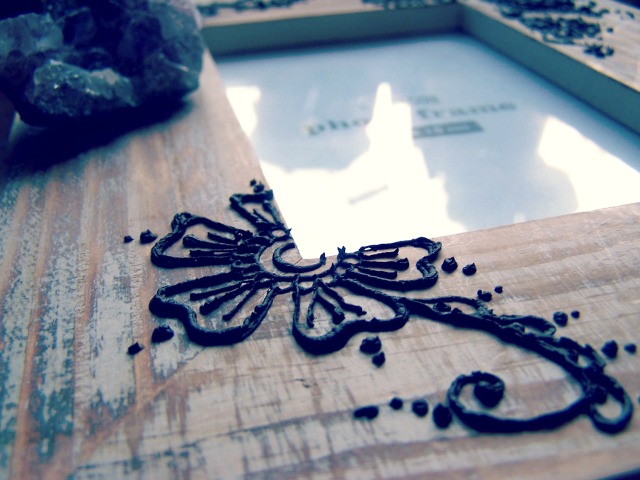
Usually henna doesn’t take that long to dry, but I did find that it took a while to dry on the wood – and trying to brush off the excess henna too early can cause it to smudge, so be careful with that!


I really love how them came out! I loved how they looked while the henna was still dark – but I actually prefer if looking slightly faded. Loving how these look in my room now!
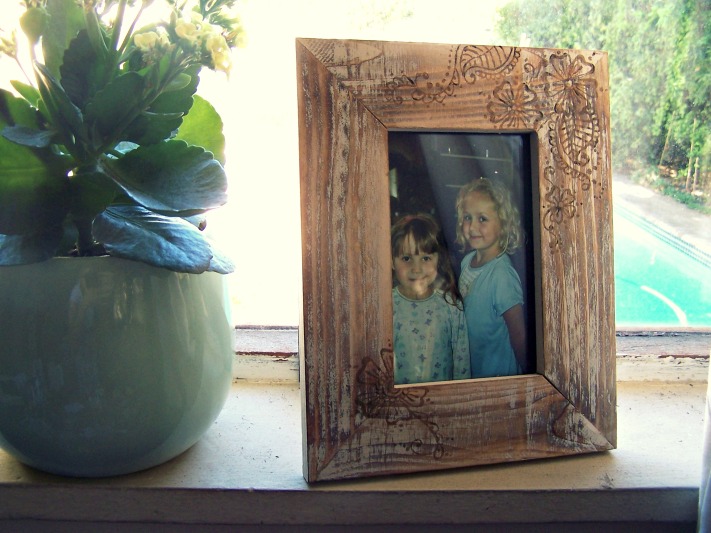
The photo frames are from Mr Price Home and the henna was bought from Gypsy.
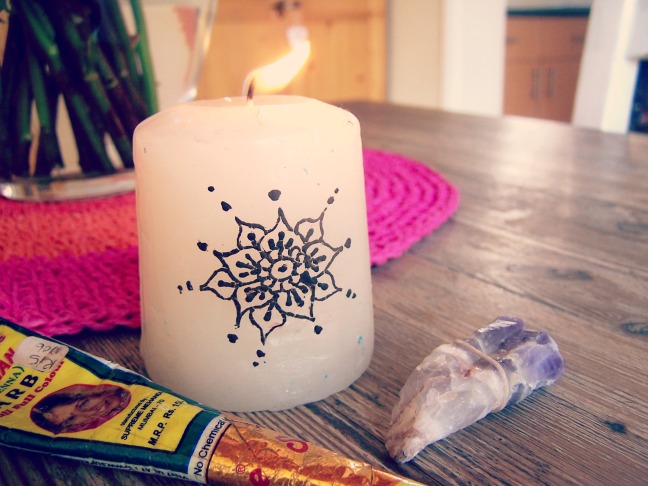
Henna is such an easy way to turn something ordinary into something quite unique, like this candle I have in my room at moment – and I’m still coming up with new ideas!
If you would like to see any more of the DIY projects that I am planning to do soon, let me know in the comments – and if you decide to try out decorating some photo frames of your own tweet me the photos at @Francesca_Sleet – I would love to see them!

Love it!
LikeLike
Thanks! Such an easy thing to make! Thanks for the comment 🙂
LikeLiked by 1 person